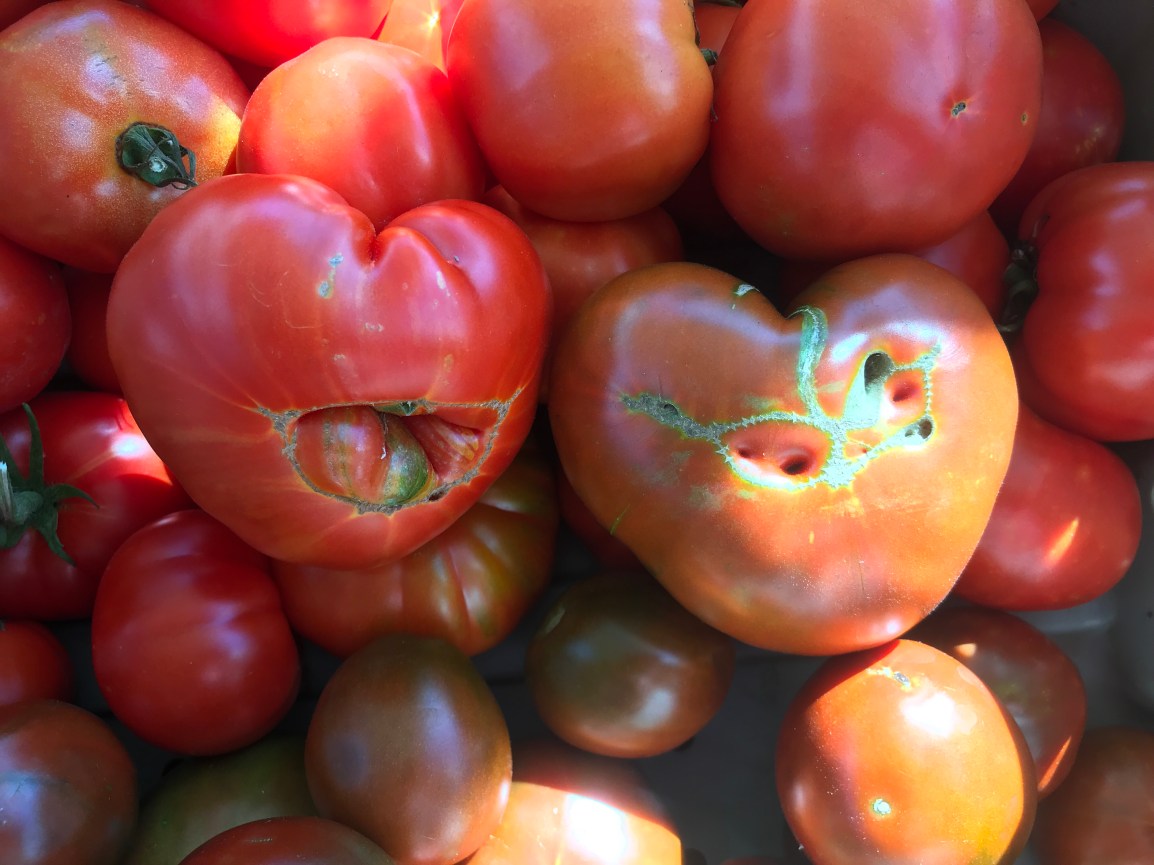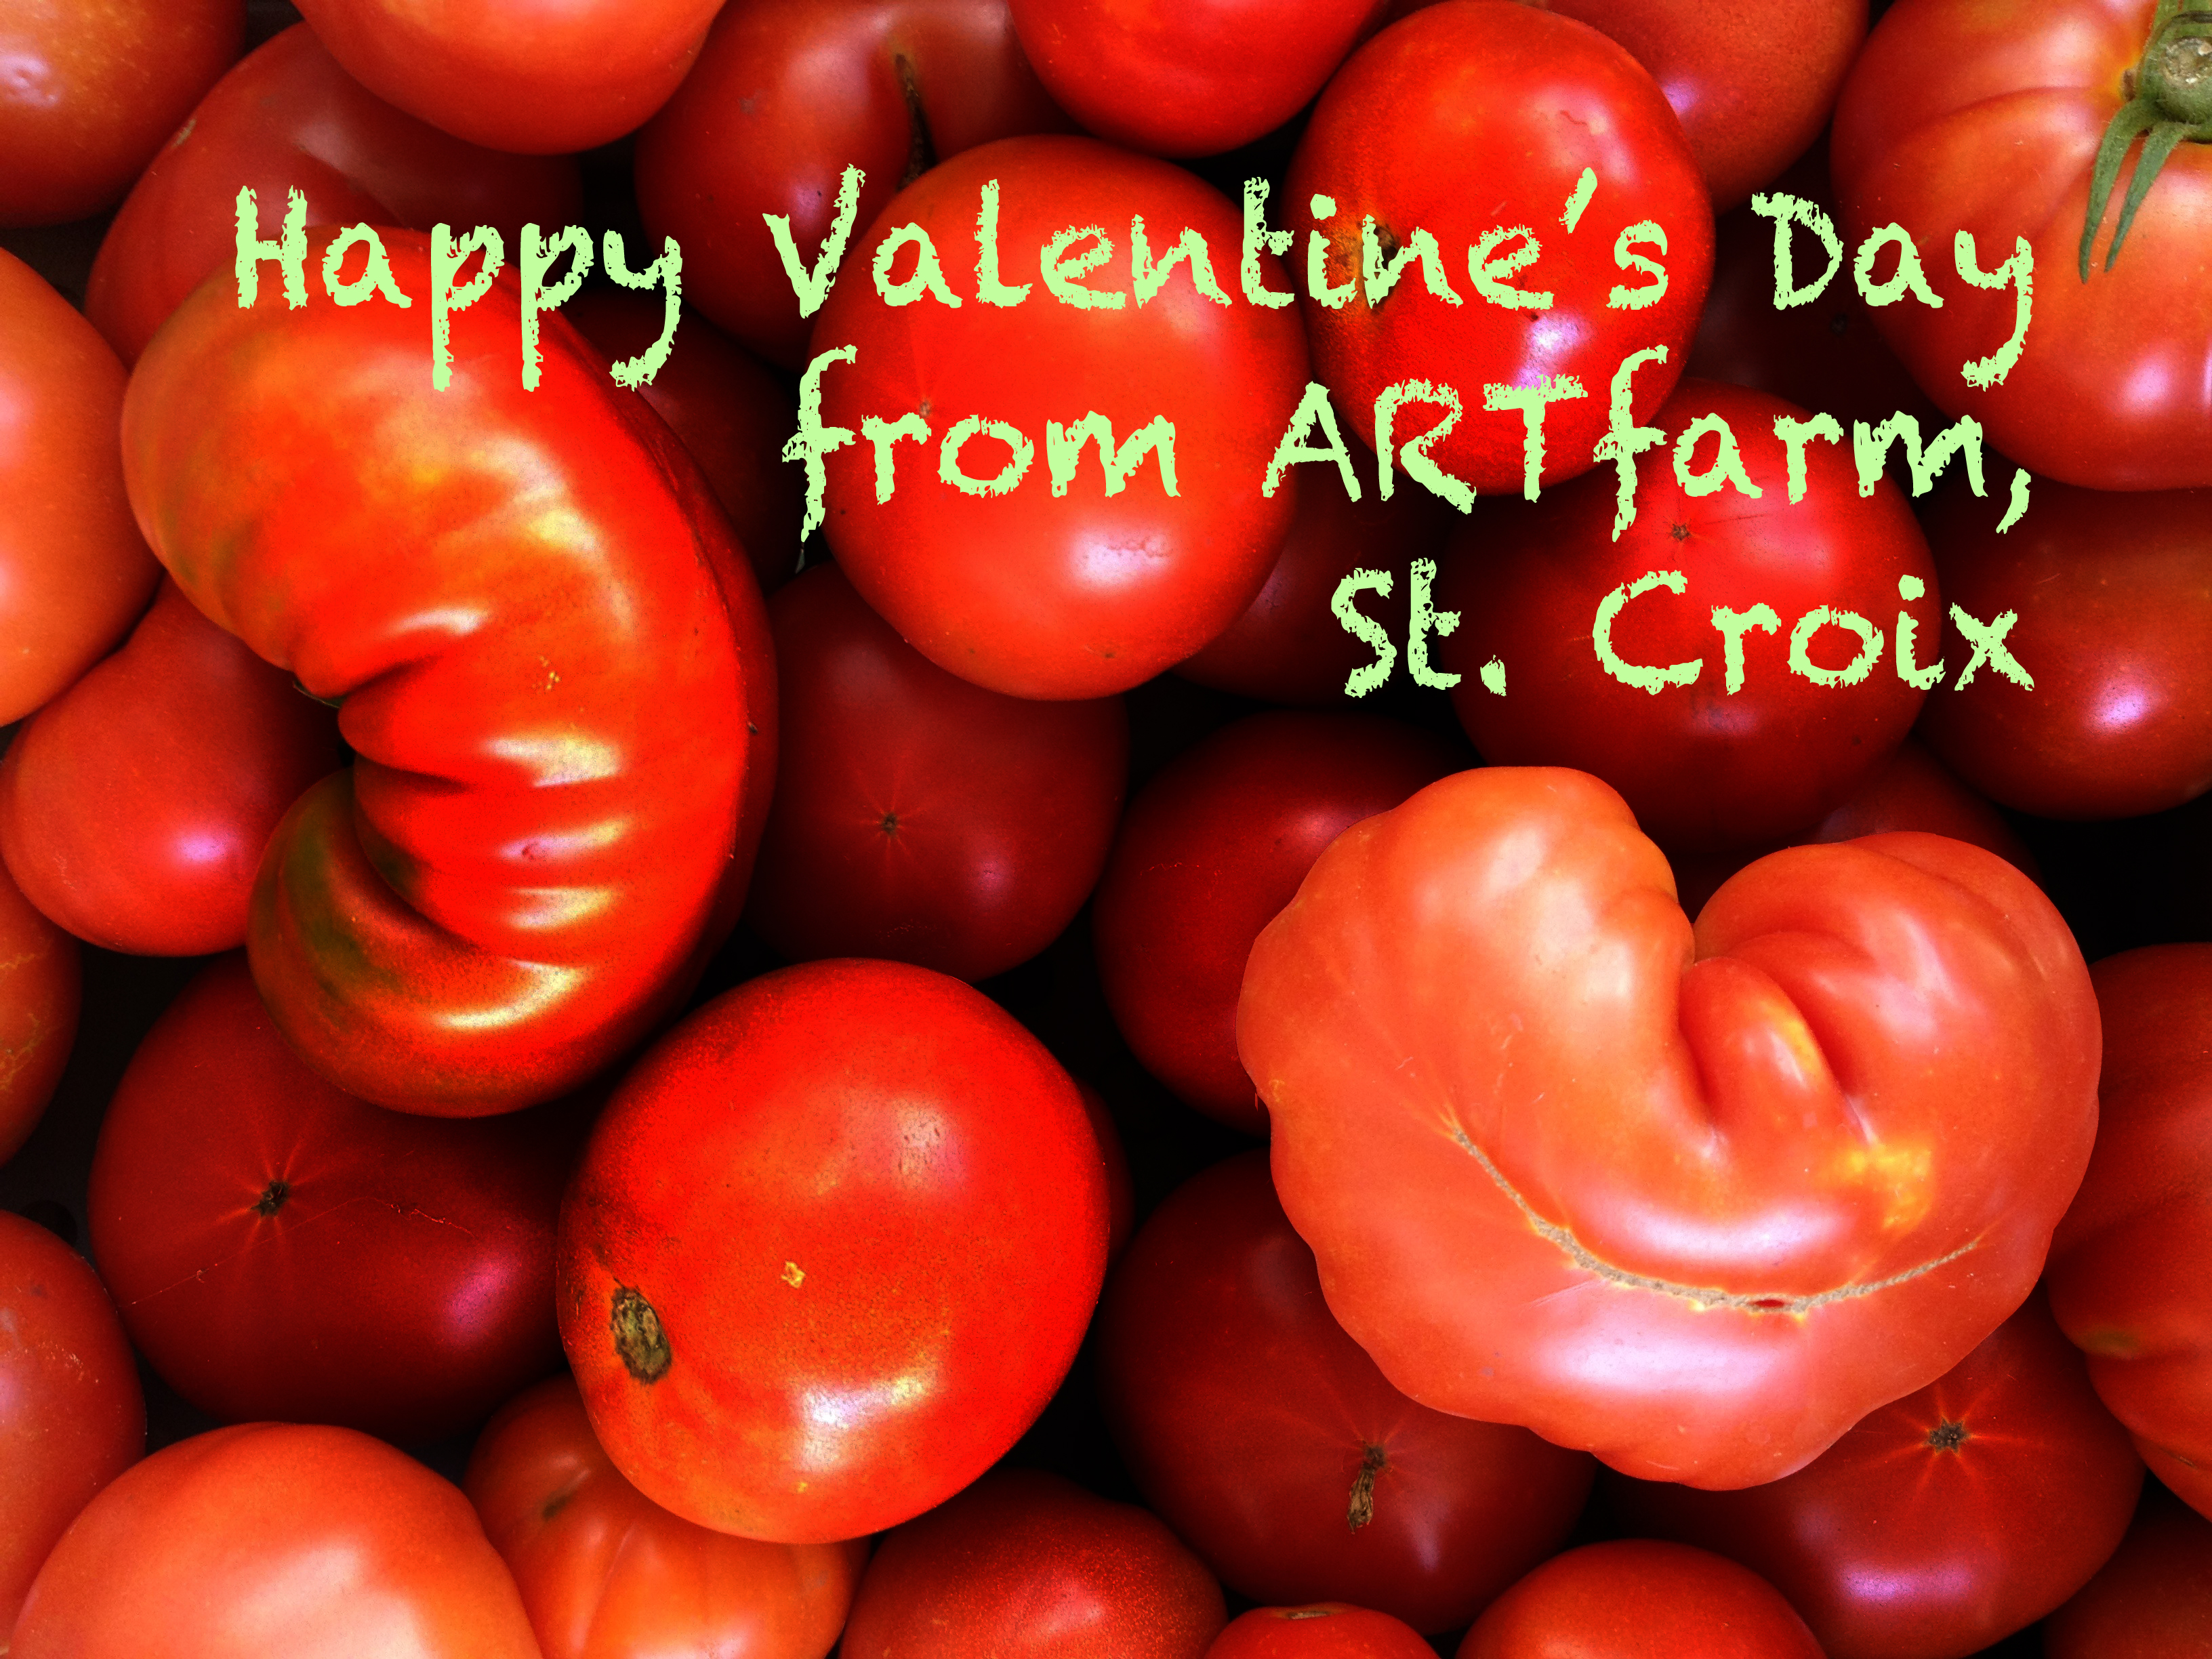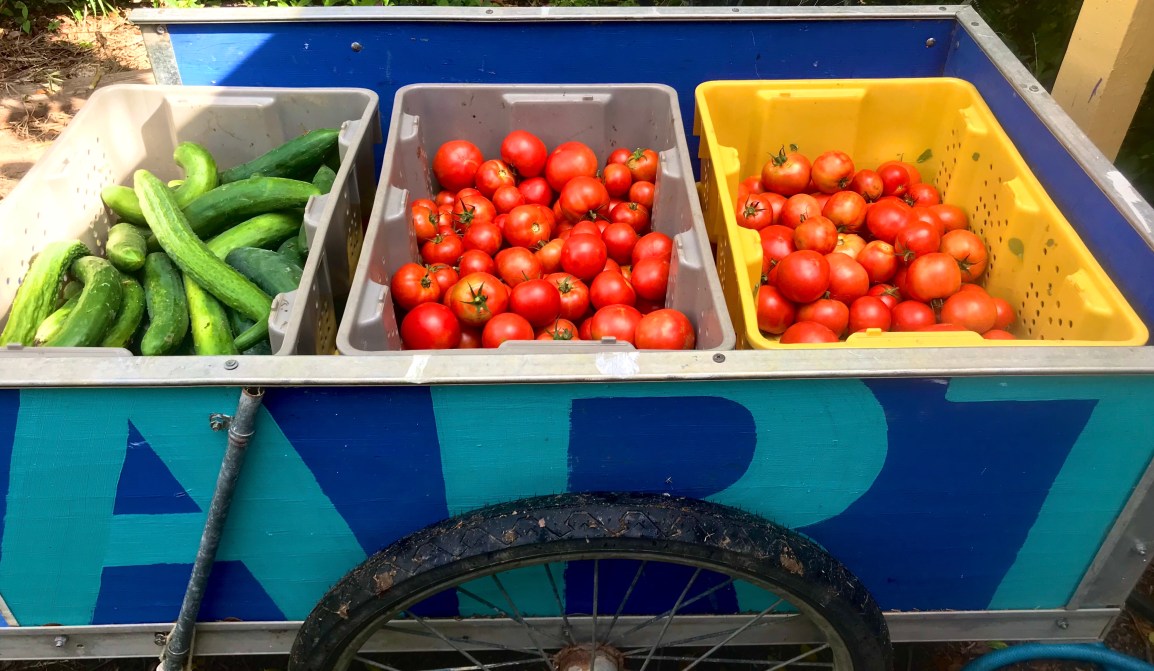

Tomorrow morning’s SATURDAY ARTfarm farmstand features all the tomatoes in large quantities all the way to the end of the hour, including cherries and slicers and seconds – would you call it a toMAHvalanche, or a tomaTAHvalanche? Either way get ready with your sauce recipes and your canners! Plus limes, hot peppers, more veggies and herbs and flowers! Sweet salad mix and cukes are in shorter supply and will be rationed one bag per customer. See the full list below.
We’ll see you Saturday 3/7/26 from 10:30AM to 11:30PM! First come, first served.
Plenty
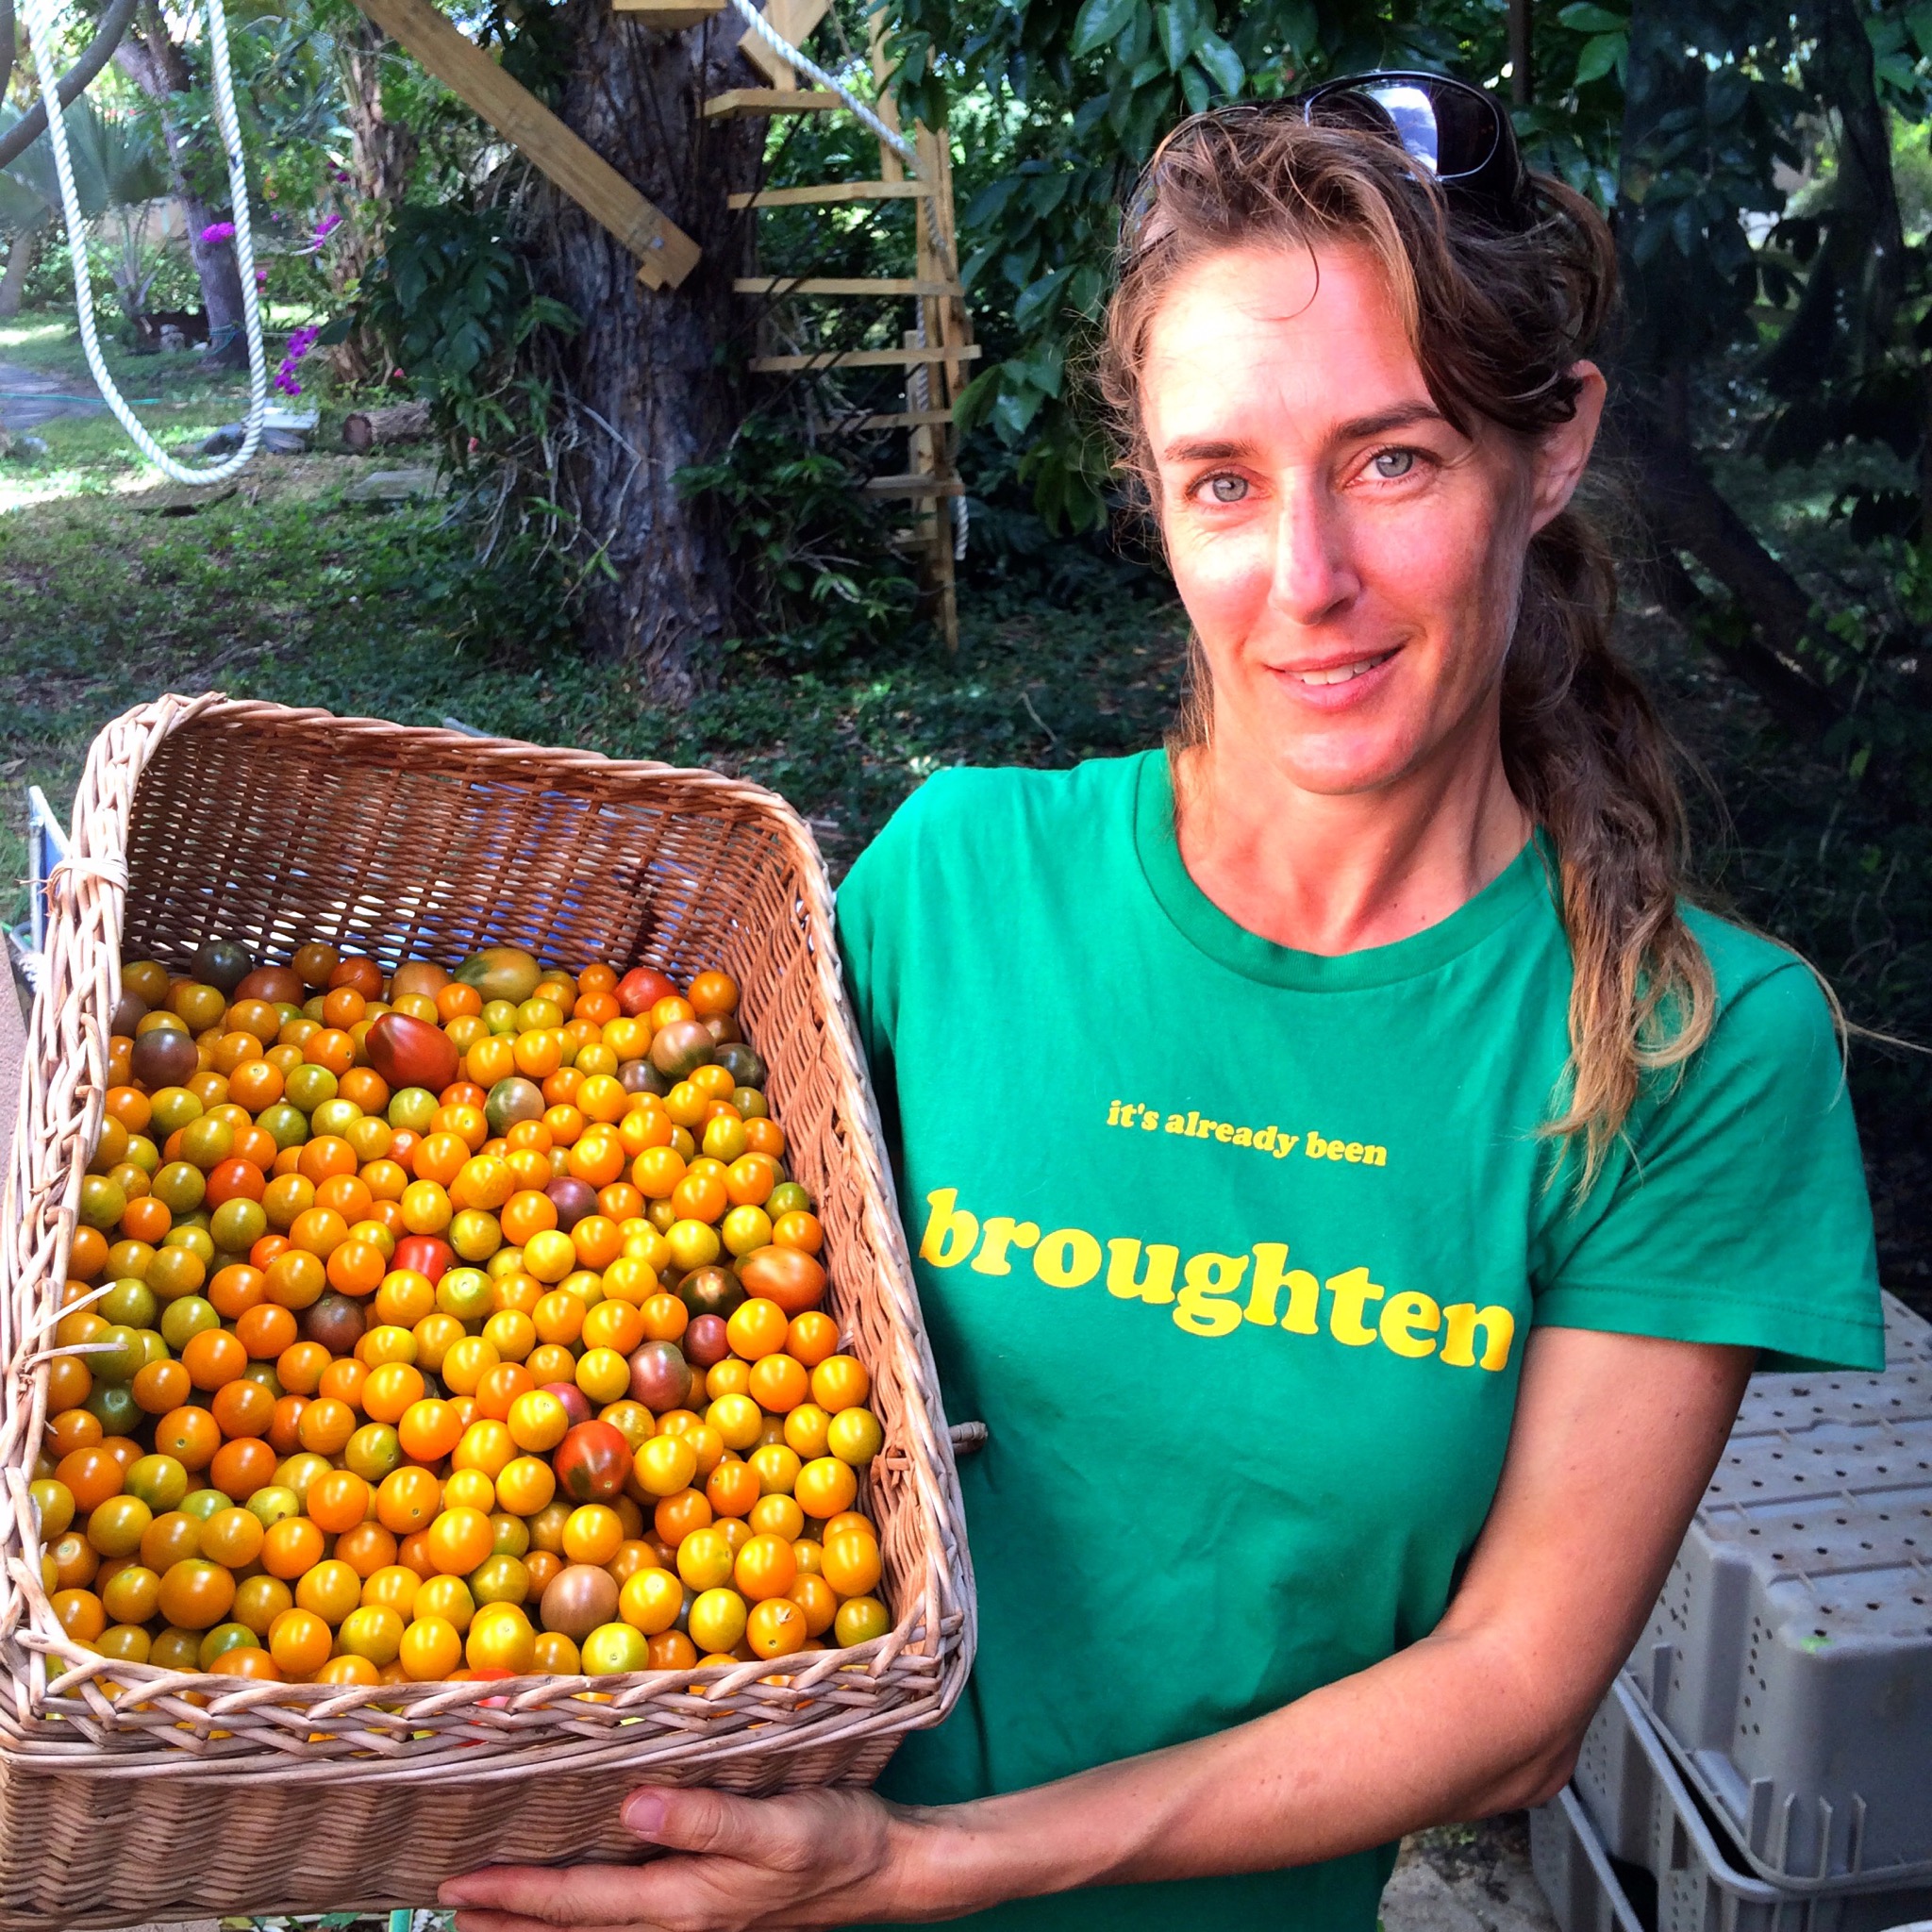
- Cherry tomatoes
- Slicer tomatoes
- Heirloom tomatoes
- Tomato seconds
- Kafir limes and leaves
- Key limes
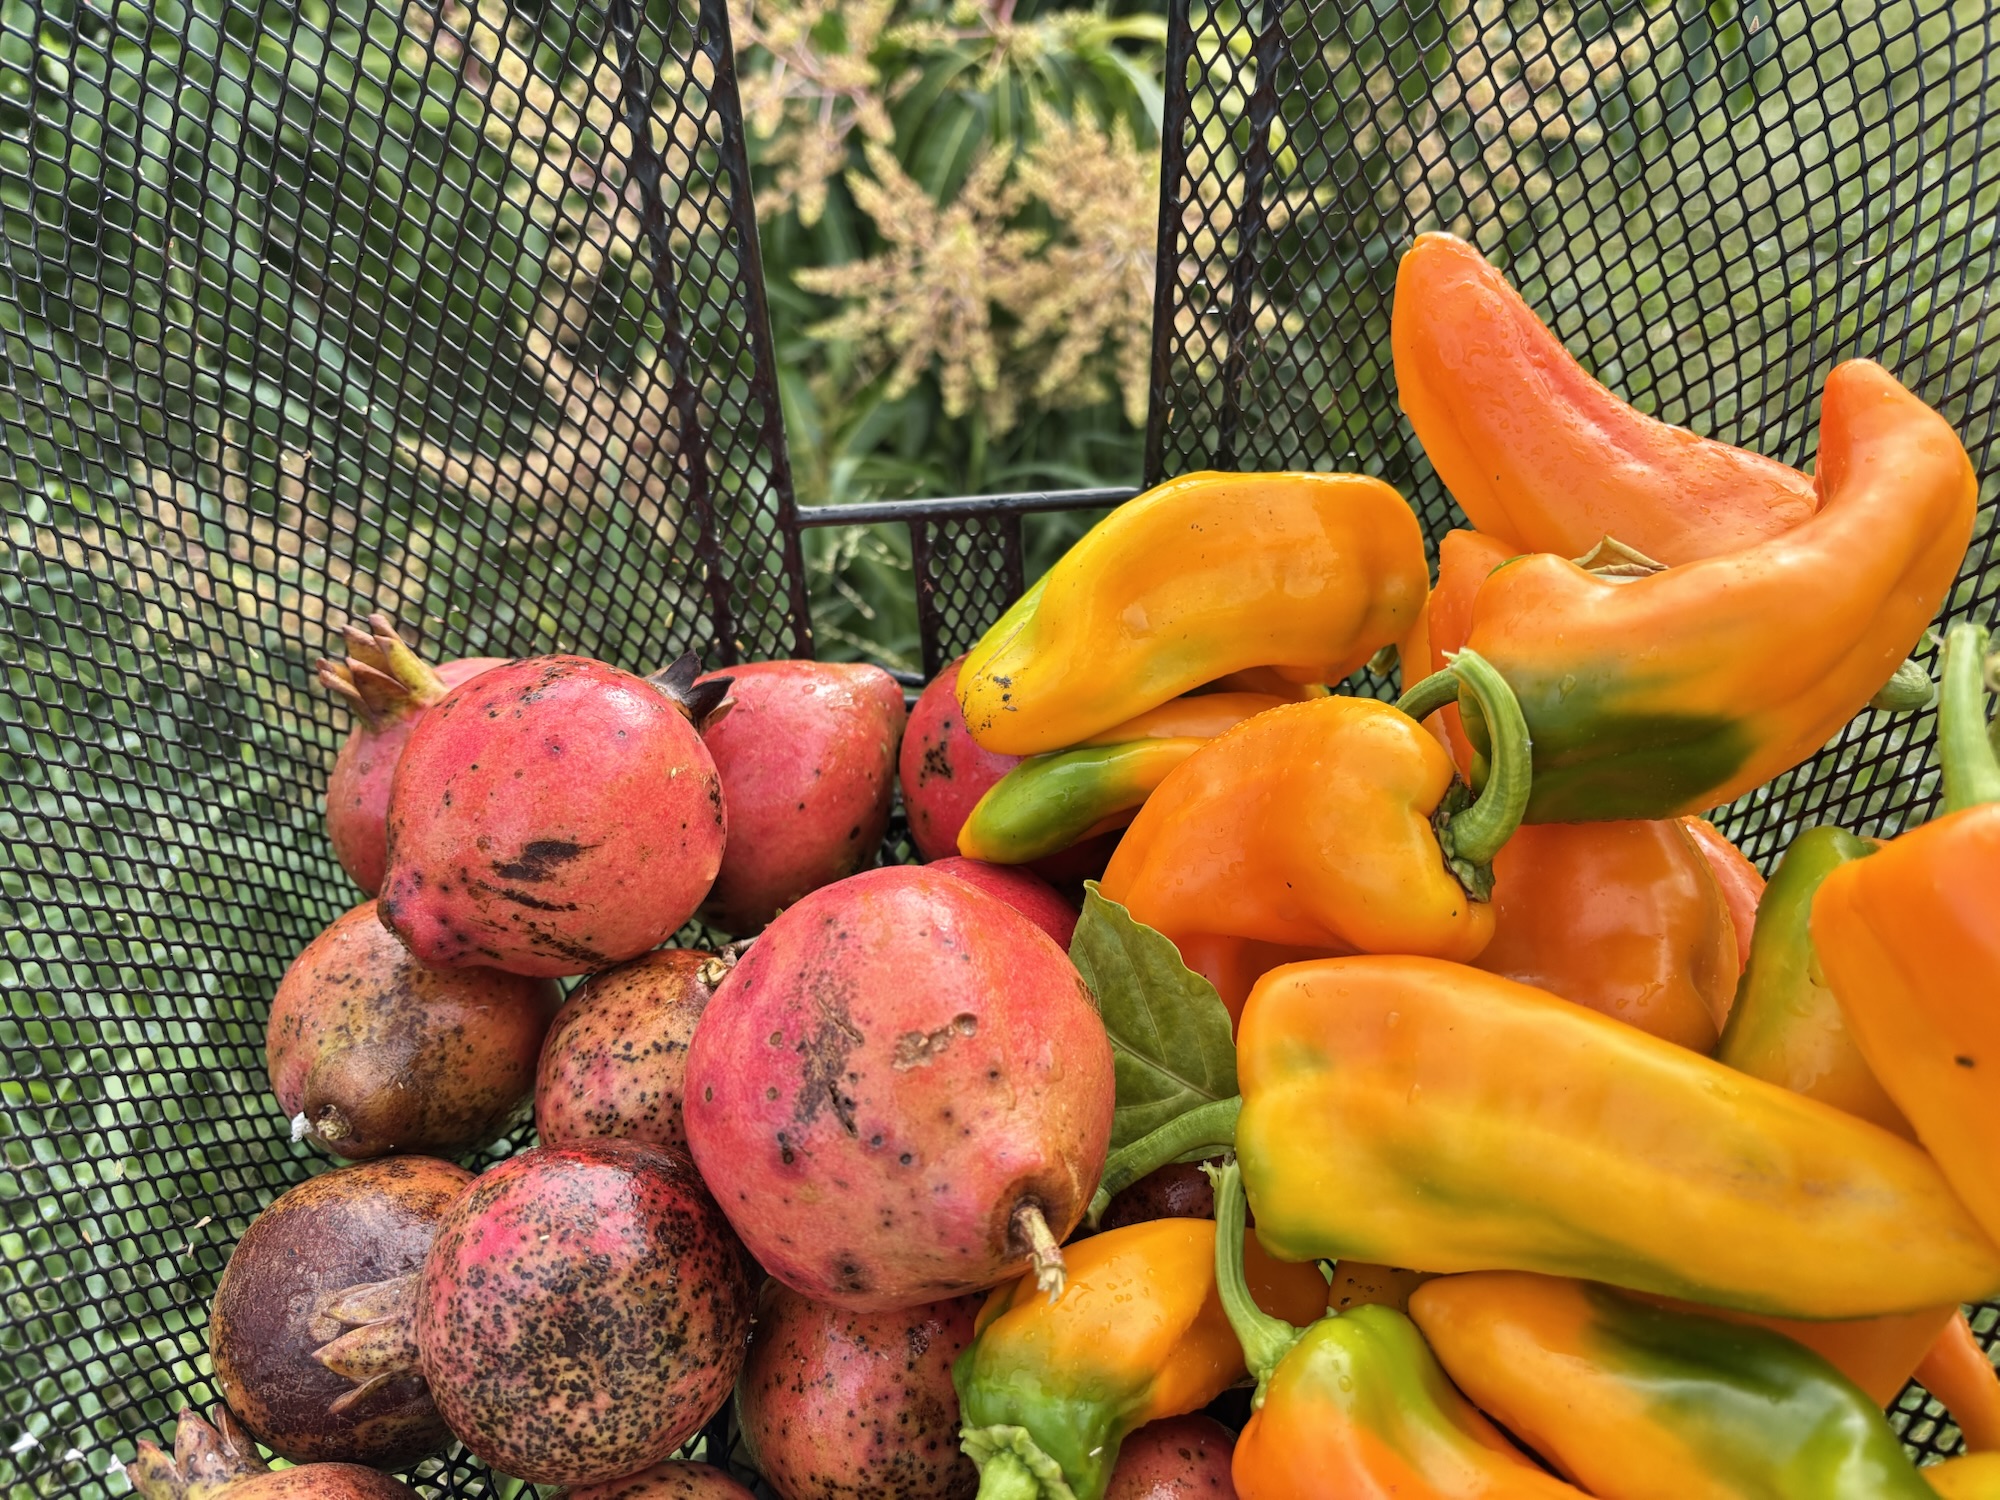
- Green (mild) and red chili peppers (hottest) and green jalapeños (mild)
Early Birds
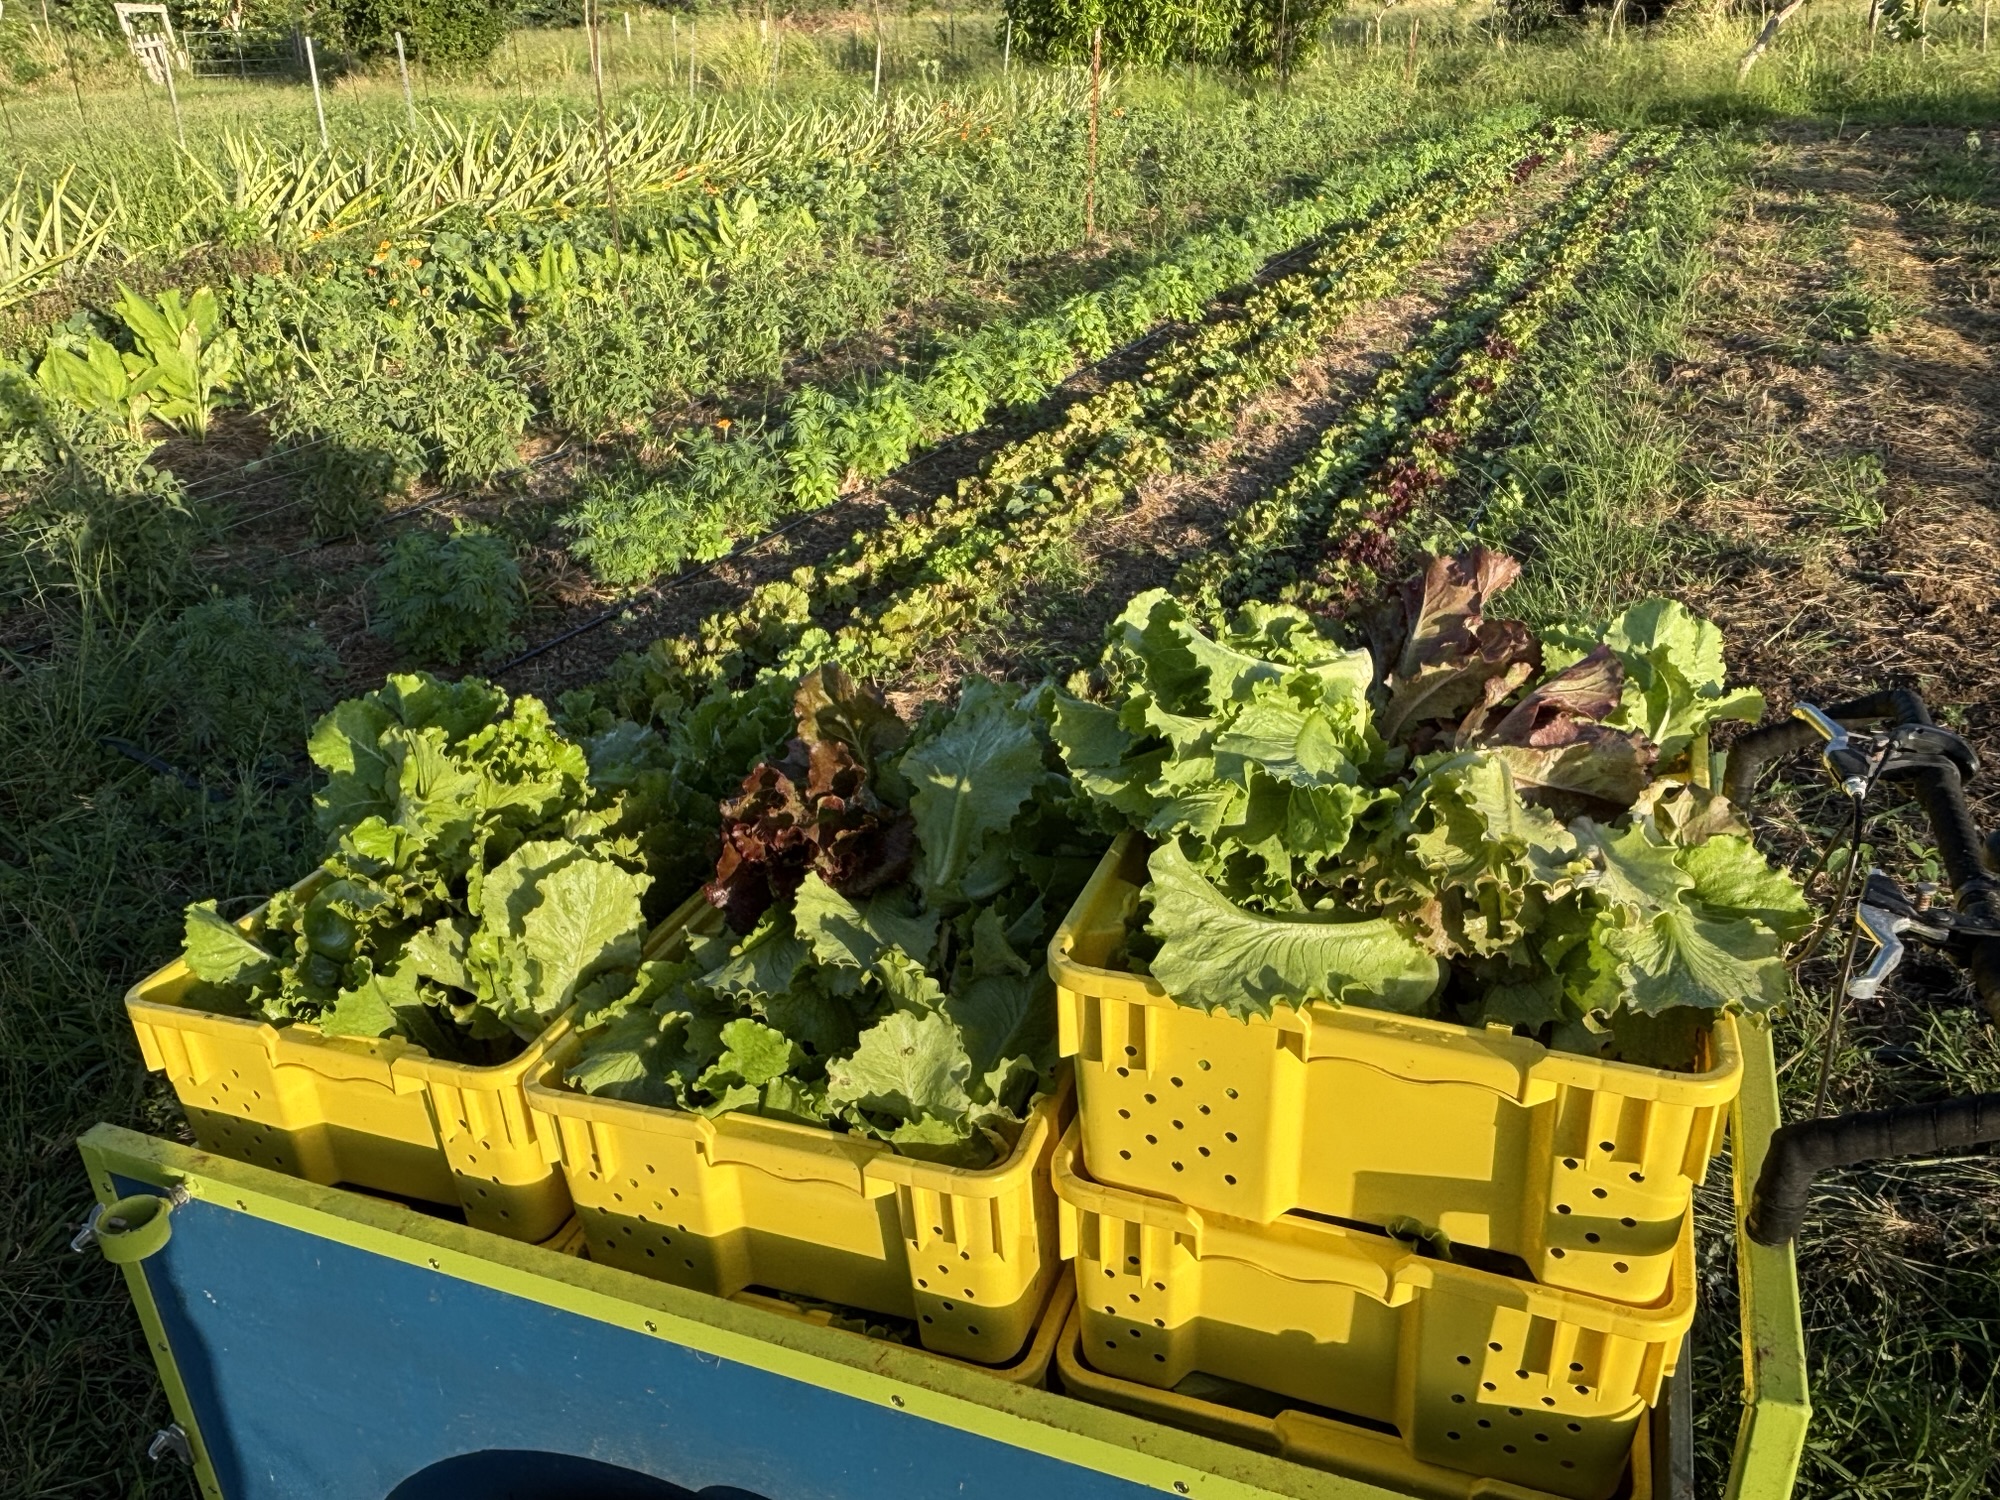
- Sweet salad mix (one per customer)
- Watermelon: yellow, red, orange
- Carrots with green tops
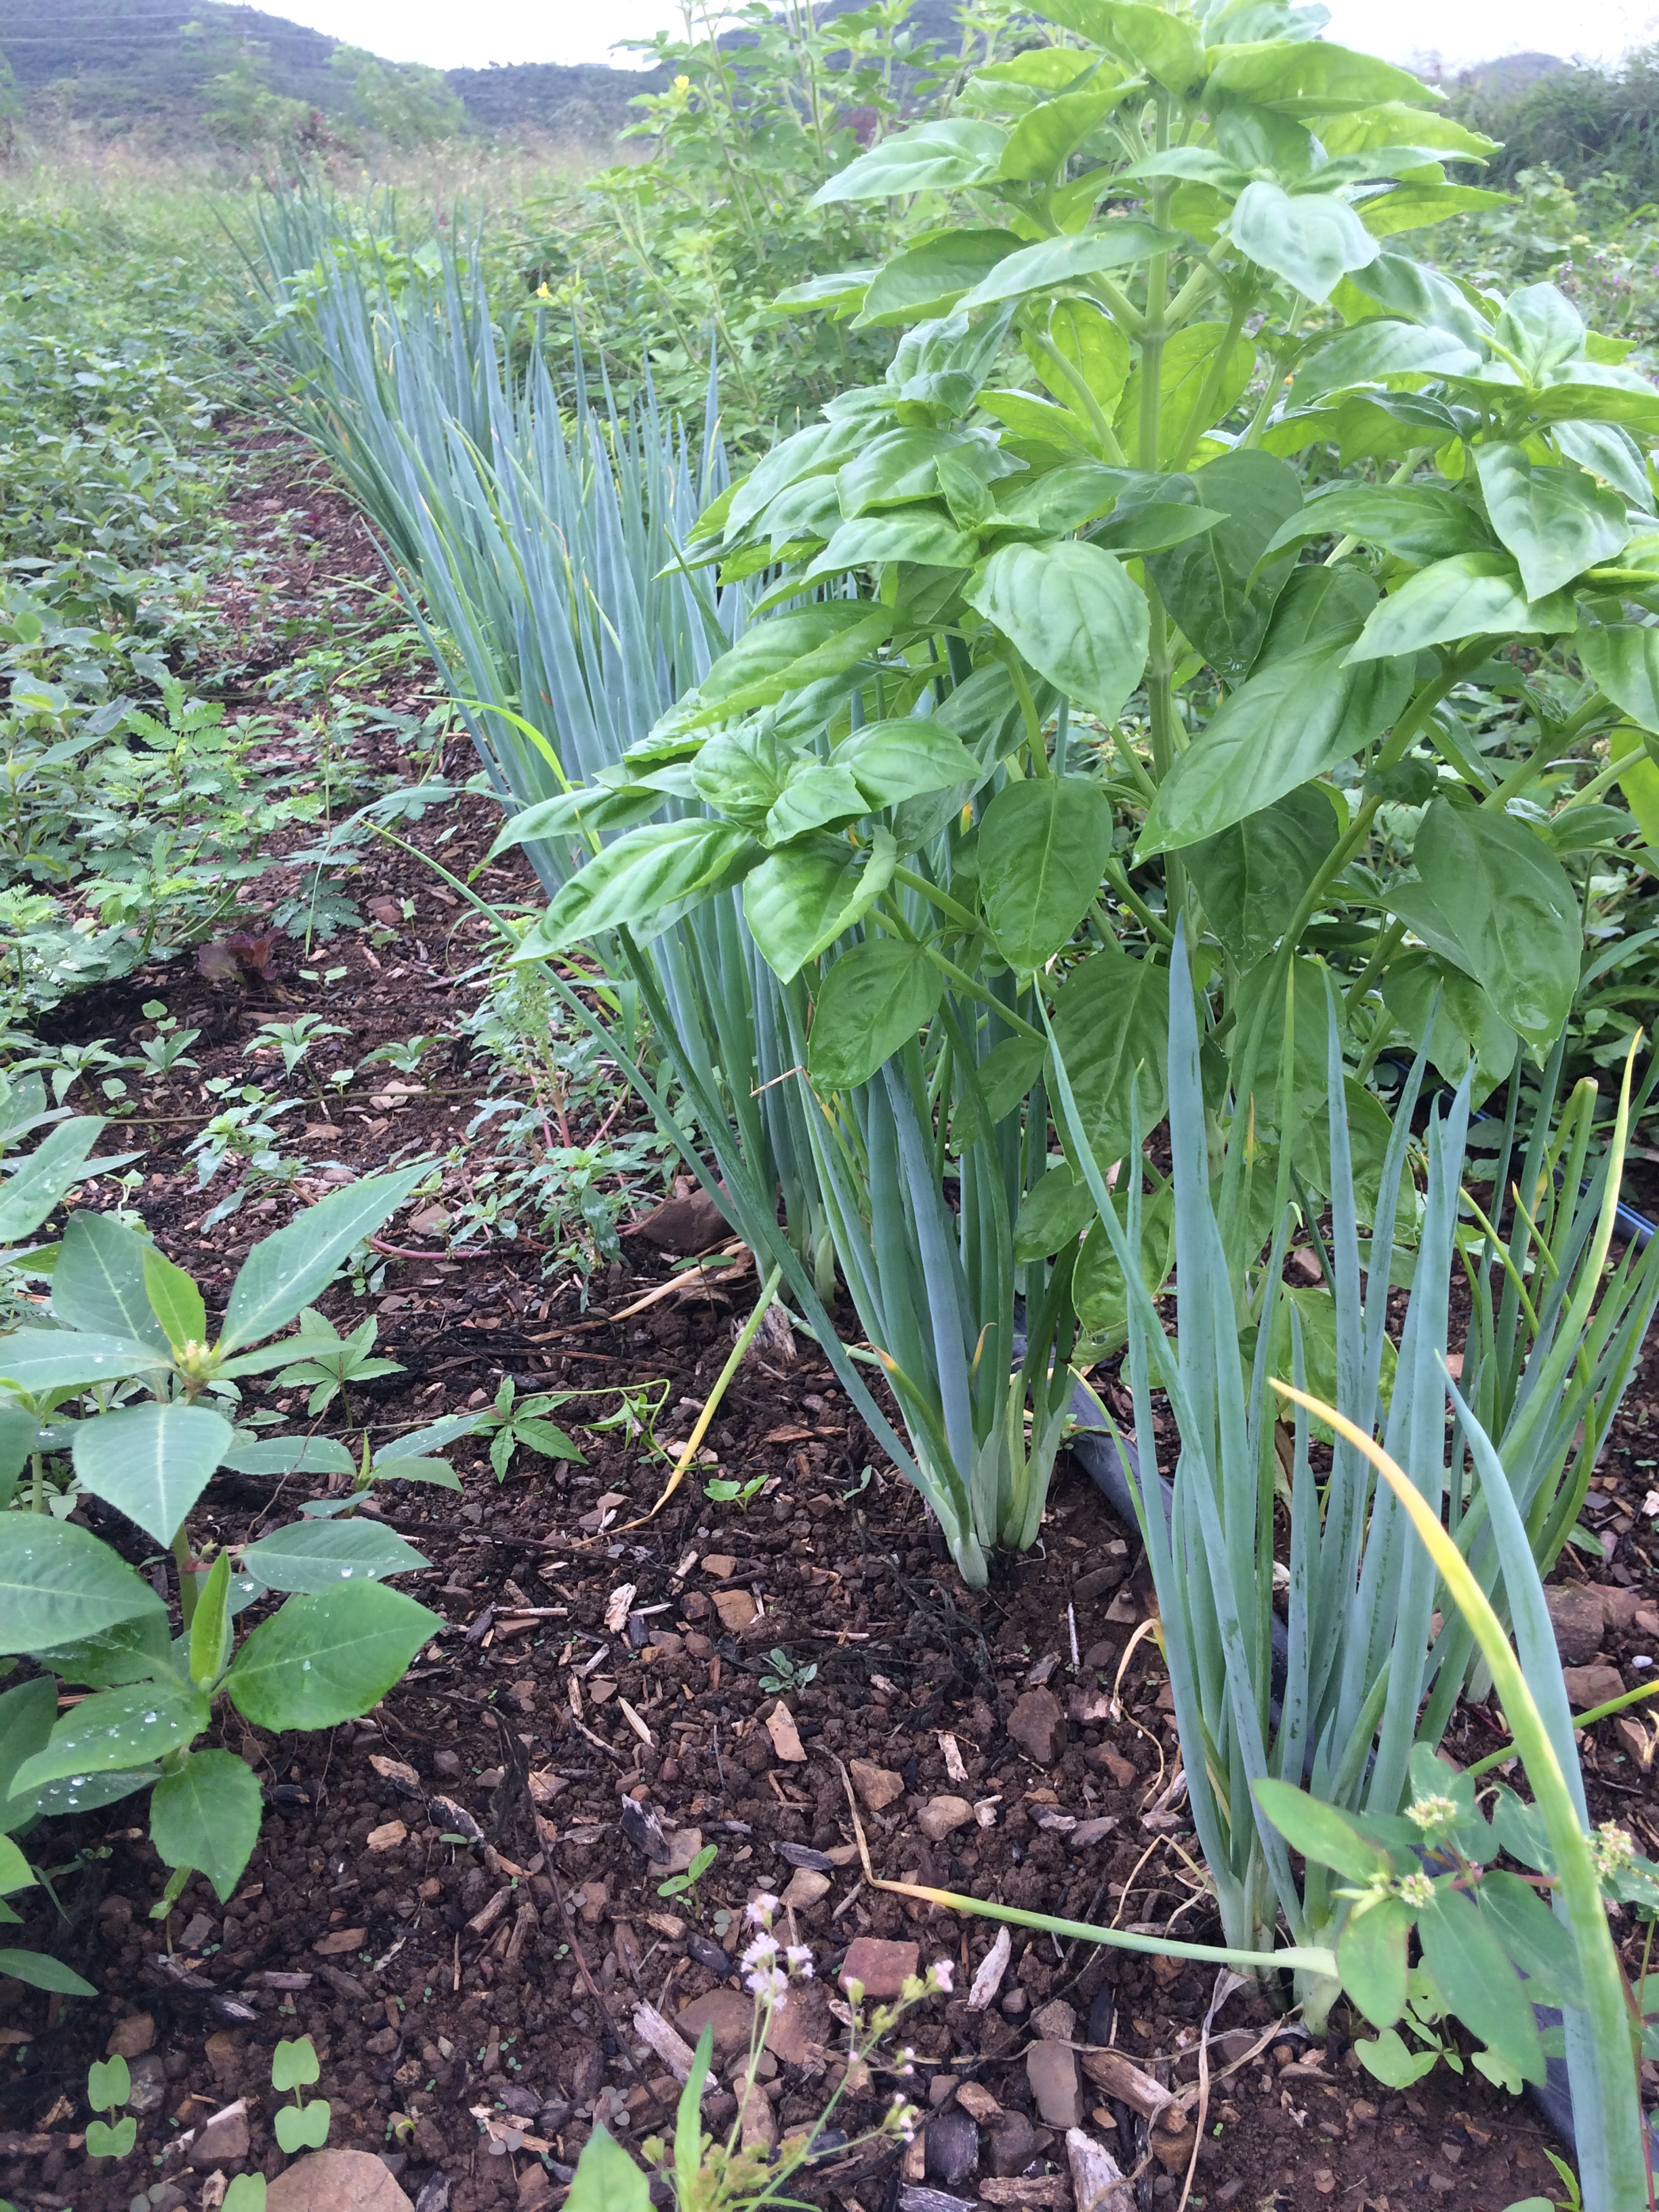
- Scallions
- Bunched arugula
- French breakfast radishes with green tops
- Salad turnips with green tops
- Zucchini
- Cucumbers (Japanese, American slicers, Chinese varieties) (one bag per customer)
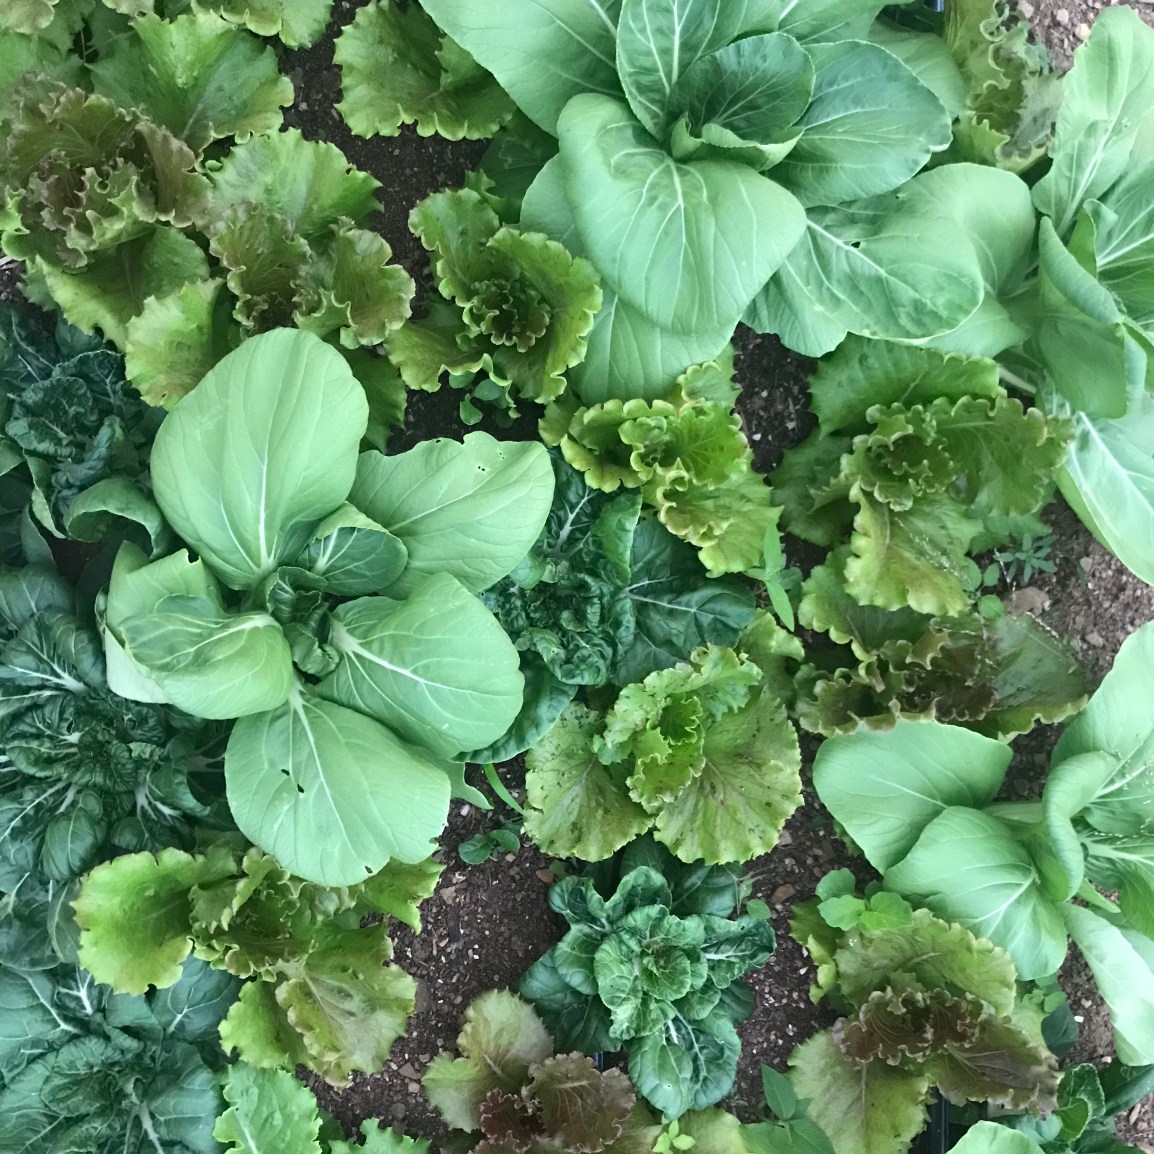
- Bunched cooking greens (bok choy leaves, Italian dandelion leaves)
- Thai basil
- Italian basil
- Cilantro
- Dill
- Sage
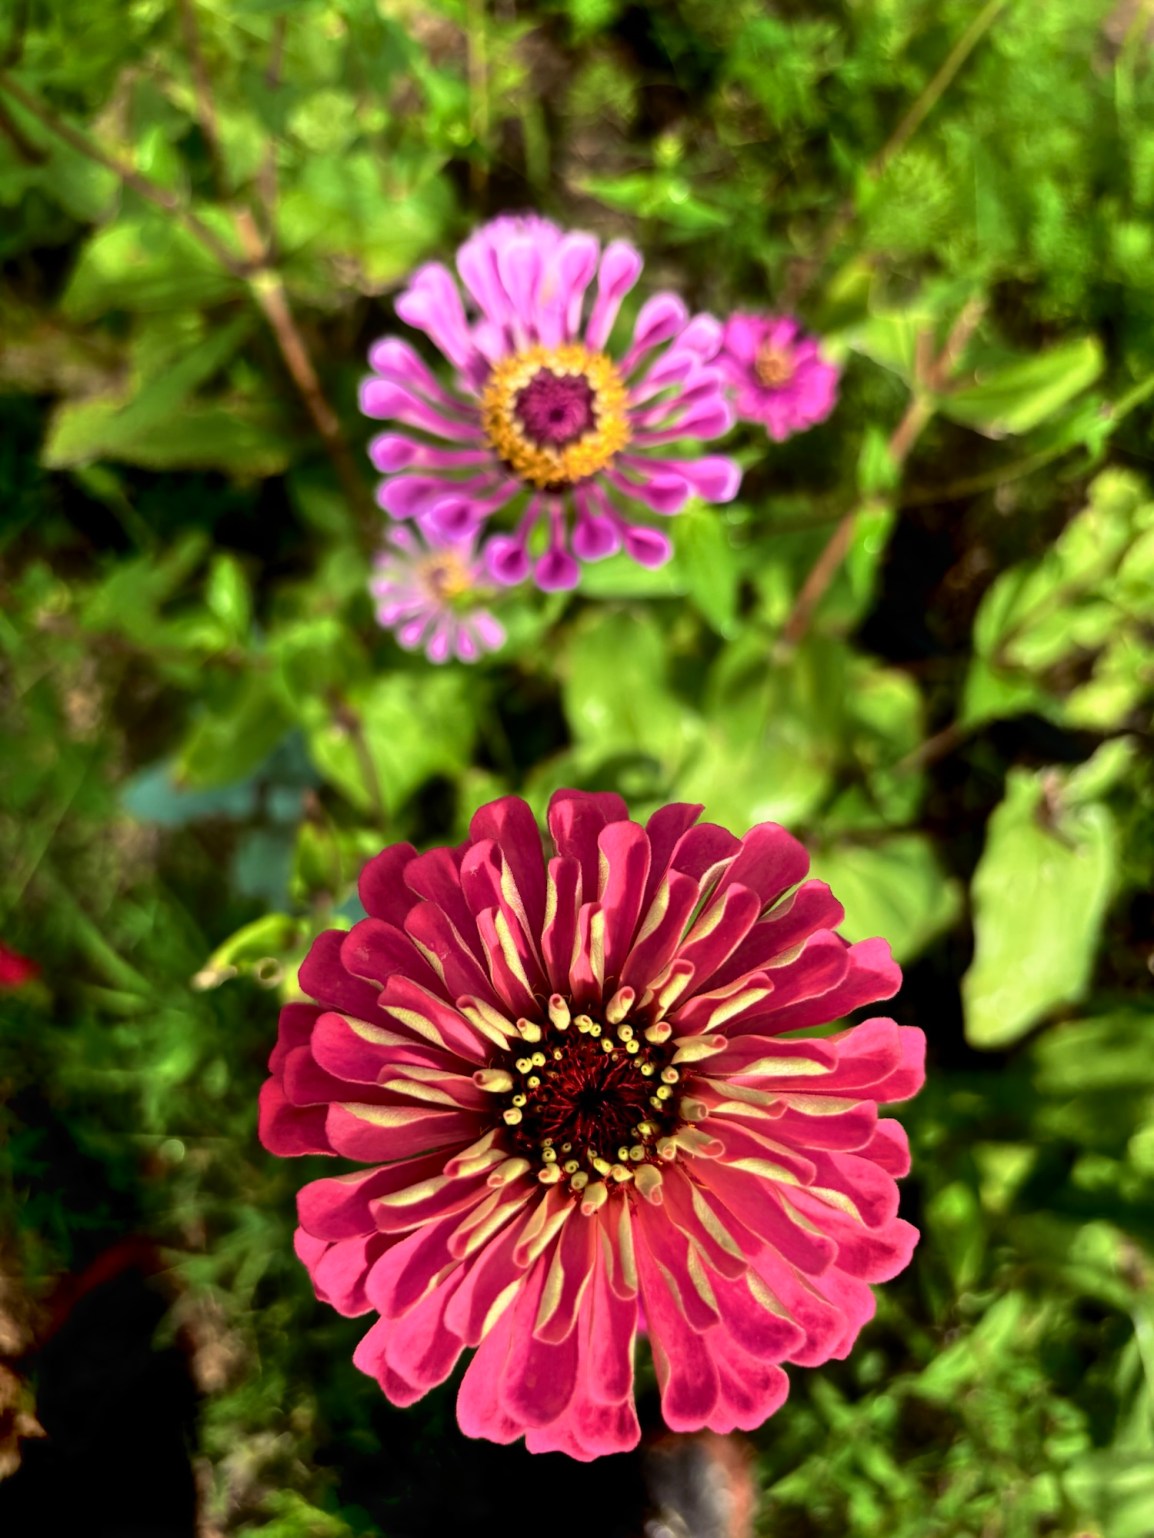
- Zinnia and marigold cut stem flowers
See you Saturday March 7th, 2026, starting at 10:30AM!